Condusiv Help Center
Help Center / Product FAQs & Troubleshooting / Undelete FAQs
Undelete FAQs
General Information
Undelete works differently and by replacing the Recycle Bin at the file server, we can intercept those files and present them for recovery.
Yes! Undelete protects files deleted from your Cloud Servers too! Organizations transitioning from on-premise systems to cloud infrastructure (i.e. Infrastructure as a Service – IaaS) can maintain consistent file protection and recovery capabilities by deploying Undelete on their cloud servers. This ensures continuity in data management practices and enhances overall operational efficiency within the organization.
If you have a current Undelete subscription, we offer the ability to transfer existing Undelete licenses from on-premise systems to cloud servers so customers can leverage their investments efficiently. This flexibility reduces the overhead associated with adopting new technologies and reinforces the value of Undelete. Please contact customer support or your account manager for assistance.
Overall, incorporating Undelete into cloud server environments offers comprehensive file protection and recovery benefits, safeguarding against data loss and supporting uninterrupted business operations.
2. Undelete captures files deleted within applications—the Recycle Bin does not.
3. Undelete captures files deleted from the Command Prompt—the Recycle Bin does not.
4. Undelete captures files deleted within the File Manager – the Recycle Bin does not.
5. Windows does not have a native undelete facility to recover files that have been fully deleted.
6. Undelete allows you to search for deleted files by names or partial names.
7. Undelete includes Emergency Undelete, which allows you to recover previously deleted files, even those deleted from the Recycle Bin.
8.The Undelete program identifies the ownership of the deleted file/folder as well as the person who deleted the file/folder.
Like Undelete Server Edition, the Professional Edition can recover files from the computer where it is installed, and it can also recover files from computers that have Undelete Server Edition installed.
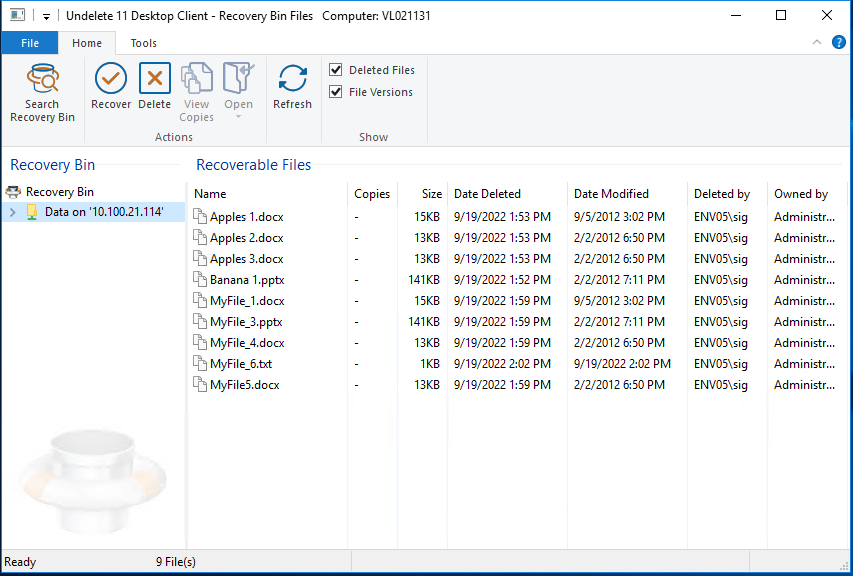
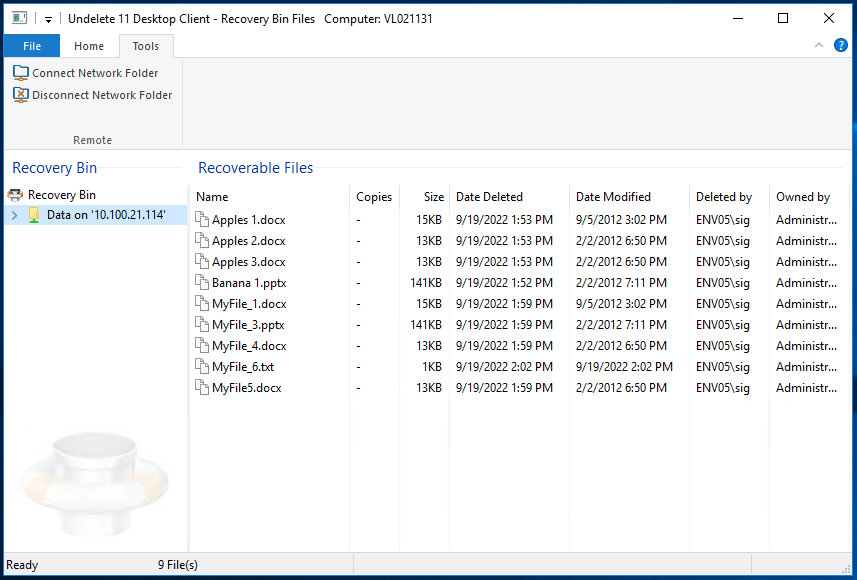
The Undelete Client component, which is used with Undelete Server Edition, allows you (or more importantly, your users) to find and recover deleted files from remote Recovery Bins, such as those on a file server. The Undelete Client operates similarly to the Recovery Bin interface in Undelete Professional Edition, except it only “sees” Recovery Bins on remote systems. It does not have a “local” Recovery Bin where deleted files are stored. Users are only shown and allowed to recover files on shared network drives for which they have sufficient ownership or system privileges. NTFS permissions are applied and users will not be able to restore data from file shares they do not have permission to.
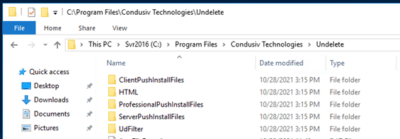
From the Undelete Server version, you can Push Install the Client to the system(s) OR you can take the Client Setup files from the following location:
C:\Program Files\Condusiv Technologies\Undelete\ClientPushInstallFiles
You can then copy the Undelete Client setup.exe file to the respective system and install it there. Note that the Client is used to connect to the Recovery Bin of the mapped drives of servers that are running Undelete.
The Undelete Client saves time and trouble for System Administrators and Help Desk personnel by enabling users to recover their own deleted files from remote file servers. Undelete Server includes unlimited Client licenses.
Restoring files with Undelete takes just seconds and is much faster restoring files from backups. Additionally, any work done since the last backup is not lost and doesn’t have to be recreated. Undelete is not a replacement for a good backup system. A back up system is the correct tool in the event of minor or major disasters, like a system crash. Undelete is the correct tool for individual file protection. You need both.
Installation & Licensing
Undelete 11 is an intelligent in-place upgrade package and will detect if Undelete 10 is installed and use all the current settings and keep all recoverable files. No uninstall of Undelete 10 is required. Also, a reboot is not needed or required.
Method 1:
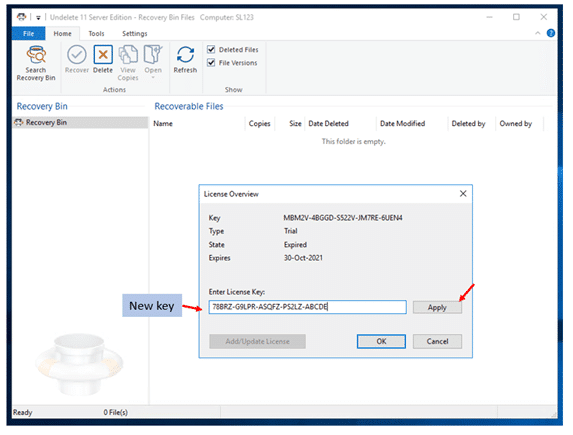
Please take these steps to convert Undelete Trial version to a paid Subscription license:
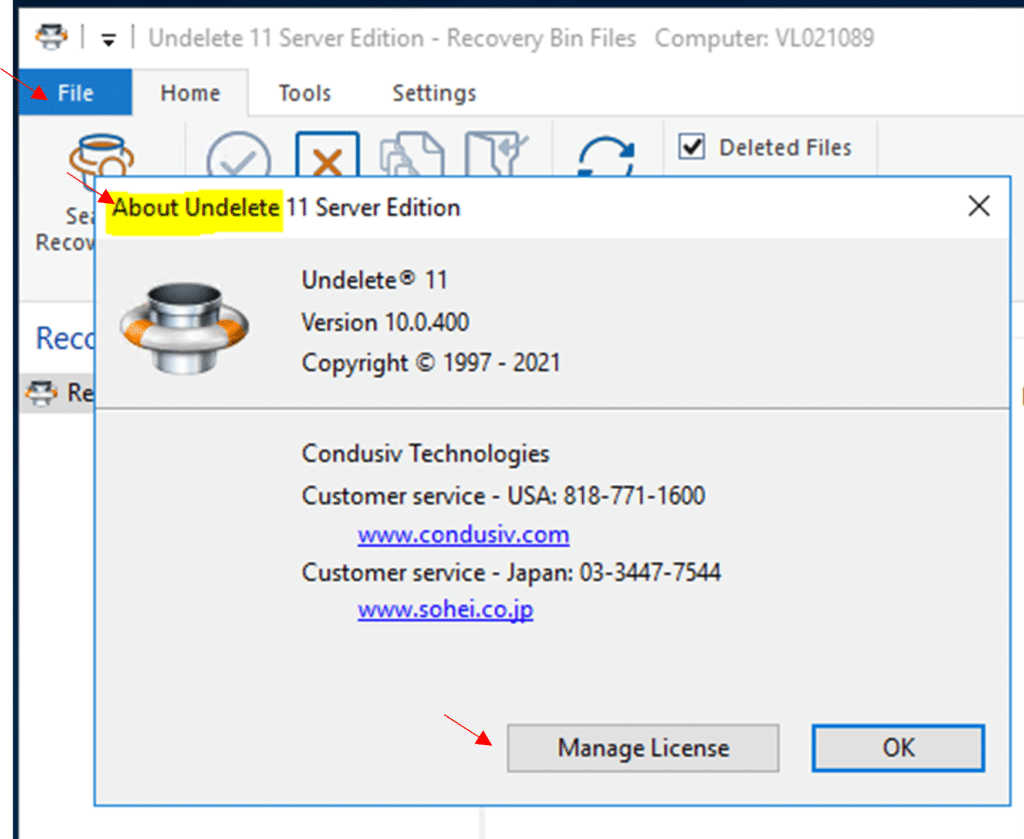
- Double Click the Recovery Bin to launch Undelete.
- Go to File → About
- Click on the Manage License button
- Enter your new key and click the Apply button
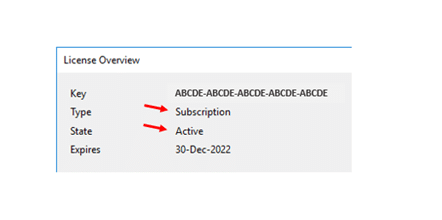
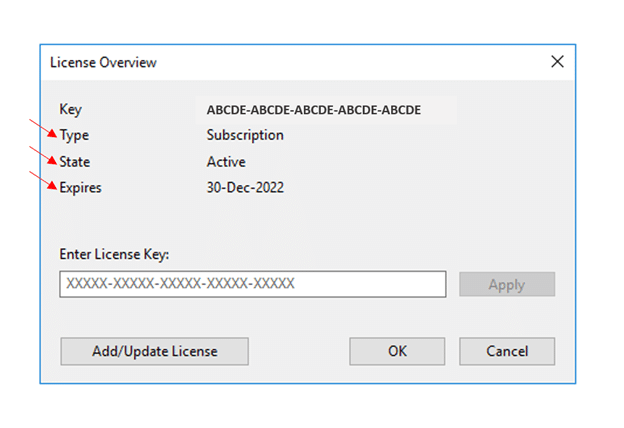
When the new key is successfully applied, the license data will update:
Method 2:
This is another way to convert an Undelete Trialware installation to a paid Subscription:
- Create a .key file (How to Create a .key file)
- Place the .key file in the Undelete install folder:
C:\Program Files\Condusiv Technologies\Undelete - Restart the Undelete Service or restart your system
The download package for Undelete will include one of these two packages:
![]()
To extract the setup.exe files for Undelete Server, Pro, and Client simply install FullEnglishUndeleteServer. The setup.exe files are extracted and placed in the installation folder for Undelete.
Undelete does not require a reboot on install or uninstall.
To enter your license key, double click the Recovery Bin icon on the Desktop or click the start button and type Undelete. This will launch Undelete and on initial startup, it will bring up the License Overview page where you can enter your license key.
Your license key is in “Subscriptions & LIC Keys” within My Account.
When your key has been successfully added, you will see the license Type, State, and Expiration fields are populated. Your system will need direct access to the internet in order to activate the license. You will not be able to recover documents from the Recovery Bin until the license has been activated.
Another way to access the License Overview page is from the File → About menu:
Undelete does not require a reboot after install or uninstall.
Undelete does support a few different methods of Administrative Push Install. Depending on the systems you use to push installations, you can push Undelete using either a Setup.exe package or an .MSI form of the Undelete installation package.
Undelete Server also includes (as part of its installation), a feature called Undelete PushInstall which can be found by selecting Start and Programs and then selecting Condusiv Technologies. This allows you to select specific computers in your domain to push the different flavors of the Undelete software to.
Should you need assistance getting the appropriate push install package (Setup.exe or .msi) please submit a Technical Support Request for assistance.
The directory view of the Undelete Push install is not Active directory compliant. If you need to push Undelete to another system that is on your network but not listed in the view. You would need to obtain the setup.exe for that product, copy it across to the target system and install it locally.
An alternative to typing in the license key to activate the product is to use a .key file which is just a text file with the file type name changed to ‘key’ and contains the license key.
Undelete, DymaxIO, and CMC will pick up a .key file placed in the same folder as the setup.exe file and automatically license the product during the installation process.
Take these steps to create a .key file.
Open Notepad and paste in the license key.
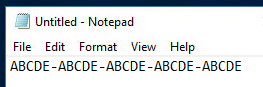
Click File → Save As.
Change the “Save as type:” field to “All Files (*.*)”
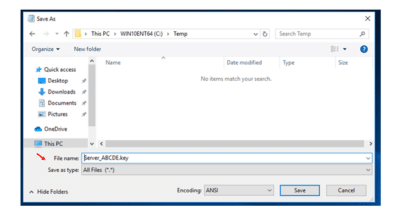
Name the file and give it a .key extension.
Place this file in the same folder as the setup.exe file and it will be picked up and automatically license the product.
Alternatively, if you need to install the key after installation, you can place the .key file in the product installation folder and restart the product service which will automatically license the product.
We advise that you right click on the Recycle Bin on your desktop to see if the check box for “Disable the Recycle Bin” has been checked. If you find it is, the default Windows Recycle Bin will not capture files that are deleted from the system. Clearing this check box will restore normal Recycle Bin functionality.